Introduction
In a culinary world filled with diverse flavors and textures, meal planning can often become a daunting task. However, with a delightful two-week meal plan that highlights an array of recipes designed to satisfy every palate, your dining experience can be both simplified and elevated. Among the standout dishes in this meal plan are Savory Herb Chicken Skewers, Creamy Tuscan Pasta, Spicy Shrimp Tacos, Quinoa & Black Bean Stuffed Bell Peppers, and Lemon Garlic Butter Cod. Each of these recipes is thoughtfully crafted to bring joy to your table while maintaining a healthy balance.
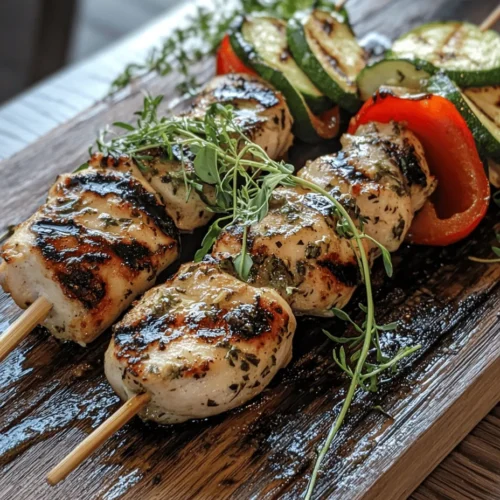
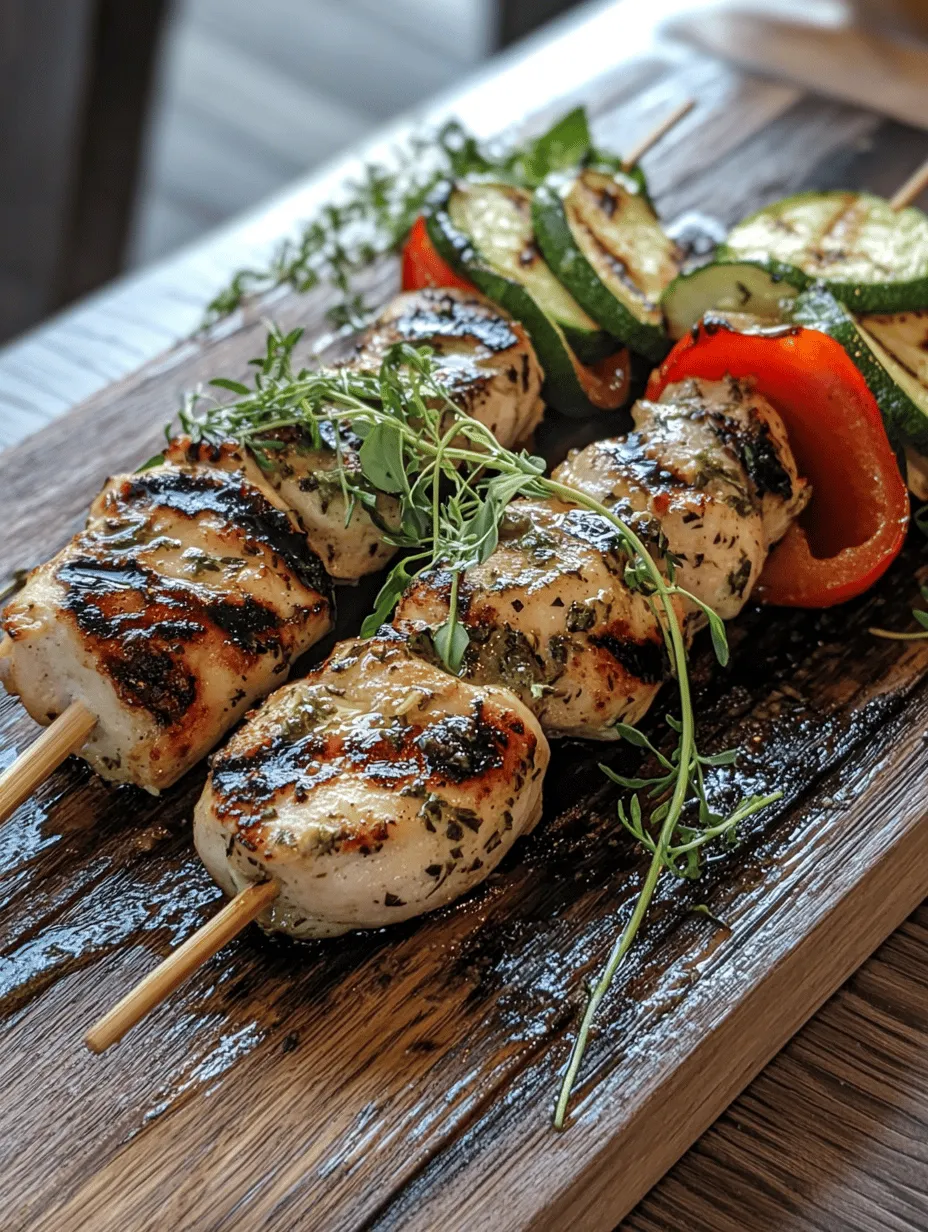
Let’s dive into the first recipe, Savory Herb Chicken Skewers. This dish not only packs a punch of flavor but also offers a fun and interactive dining experience perfect for gatherings or a cozy family dinner. Whether grilled outdoors or cooked on a stovetop grill pan, these skewers are sure to impress.
Exploring the Ingredients
The success of Savory Herb Chicken Skewers lies in the harmony of fresh and dried herbs used in the marinade. Fresh herbs like rosemary, thyme, and parsley bring brightness and depth to the dish, while dried herbs, such as oregano and basil, add a concentrated burst of flavor. Each herb contributes its unique essence, creating a well-rounded profile that enhances the chicken’s natural taste.
Olive Oil and Lemon Juice: Flavor Enhancers
Olive oil plays a crucial role in the marinade, not only providing a luscious base that helps the herbs adhere to the chicken but also contributing healthy fats that enhance the flavor. It acts as a medium for the herbs to infuse their goodness into the chicken. Lemon juice is equally important; its acidity helps to tenderize the meat while adding a refreshing zing that balances the savory elements of the dish. Together, these ingredients create a marinade that penetrates the chicken, resulting in juicy and flavorful skewers.
The Importance of Seasoning
No dish can shine without the right seasoning, and Savory Herb Chicken Skewers are no exception. A generous pinch of salt elevates the flavors, bringing all the ingredients together. Freshly cracked black pepper adds a hint of warmth and complexity, making each bite more enjoyable.
Marinating the Chicken
Step-by-Step Guide to Proper Marination
To achieve maximum flavor in your chicken skewers, proper marination is essential. Here’s a straightforward guide on how to marinate chicken for optimal taste and tenderness:
1. Choose the Right Chicken: Start with boneless, skinless chicken breasts or thighs. Thighs are more forgiving and tend to stay juicier, while breasts are leaner.
2. Cut into Uniform Pieces: Cut the chicken into 1 to 1.5-inch cubes to ensure even cooking. This size allows the marinade to penetrate well and makes grilling easier.
3. Prepare the Marinade: In a bowl, combine olive oil, lemon juice, and your choice of fresh and dried herbs. Add salt and pepper to taste.
4. Combine Chicken and Marinade: Place the chicken pieces in a resealable plastic bag or a shallow dish. Pour the marinade over the chicken, ensuring each piece is well coated.
5. Seal and Chill: If using a bag, seal it tightly, removing as much air as possible. If using a dish, cover it with plastic wrap. Place the marinating chicken in the refrigerator.
Recommended Marinating Time
For best results, allow the chicken to marinate for at least 30 minutes. For deeper flavor penetration, aim for 2 to 4 hours. If you have extra time, marinating overnight is ideal, allowing the flavors to meld and intensify. However, avoid marinating for longer than 24 hours, as the chicken can become mushy due to the acidity of the lemon juice.
Techniques for Best Results
When marinating chicken, it’s important to keep a few techniques in mind:
– Ensure Even Coating: Shake or turn the bag occasionally to ensure all pieces are evenly coated in the marinade.
– Temperature Matters: Always marinate in the refrigerator to prevent any food safety issues. Bring the chicken to room temperature for about 15 minutes before grilling to ensure even cooking.
Grilling Techniques
Preparing the Grill and Skewers
Once your chicken has marinated to perfection, it’s time to prepare for grilling. Here’s how to get started:
1. Preheat the Grill: Whether you’re using a charcoal or gas grill, preheating is crucial. Aim for a medium-high heat, around 375°F to 450°F. This temperature allows for a good sear and grill marks while ensuring the chicken cooks through.
2. Soak Wooden Skewers: If you’re using wooden skewers, soak them in water for at least 30 minutes before grilling. This prevents them from burning and helps to keep the chicken moist.
3. Thread the Chicken: Once the skewers are ready, thread the marinated chicken pieces onto the skewers. Leave a little space between each piece for even cooking and airflow.
Tips for Achieving Perfect Grill Marks and Cooked Chicken
To achieve beautifully grilled chicken skewers, follow these tips:
– Oil the Grill Grates: Before placing the skewers on the grill, oil the grates to prevent sticking. You can do this by using a paper towel dipped in oil and tongs to wipe the grates.
– Don’t Overcrowd the Grill: Give each skewer enough space on the grill so that the heat can circulate. Overcrowding can lead to steaming instead of grilling, resulting in less desirable textures.
– Cooking Time: Grill the skewers for about 10-15 minutes, turning occasionally. The chicken is done when it reaches an internal temperature of 165°F, and you see beautiful grill marks.
– Rest Before Serving: Allow the skewers to rest for about 5 minutes after removing them from the grill. This step helps redistribute the juices, ensuring each bite is flavorful and succulent.
Serving Suggestions
Best Sides to Pair with Chicken Skewers
To create a complete meal around your Savory Herb Chicken Skewers, consider serving them with a variety of sides that complement their flavor:
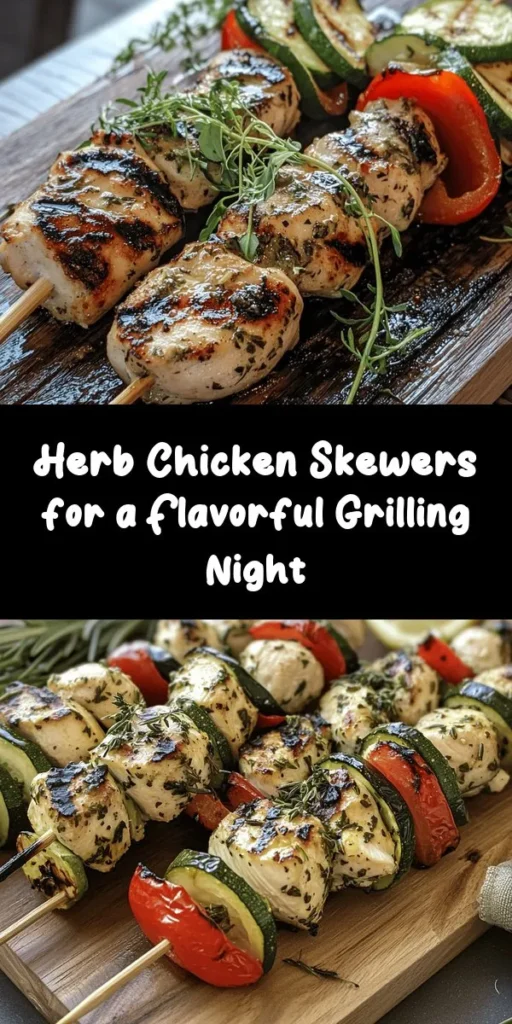
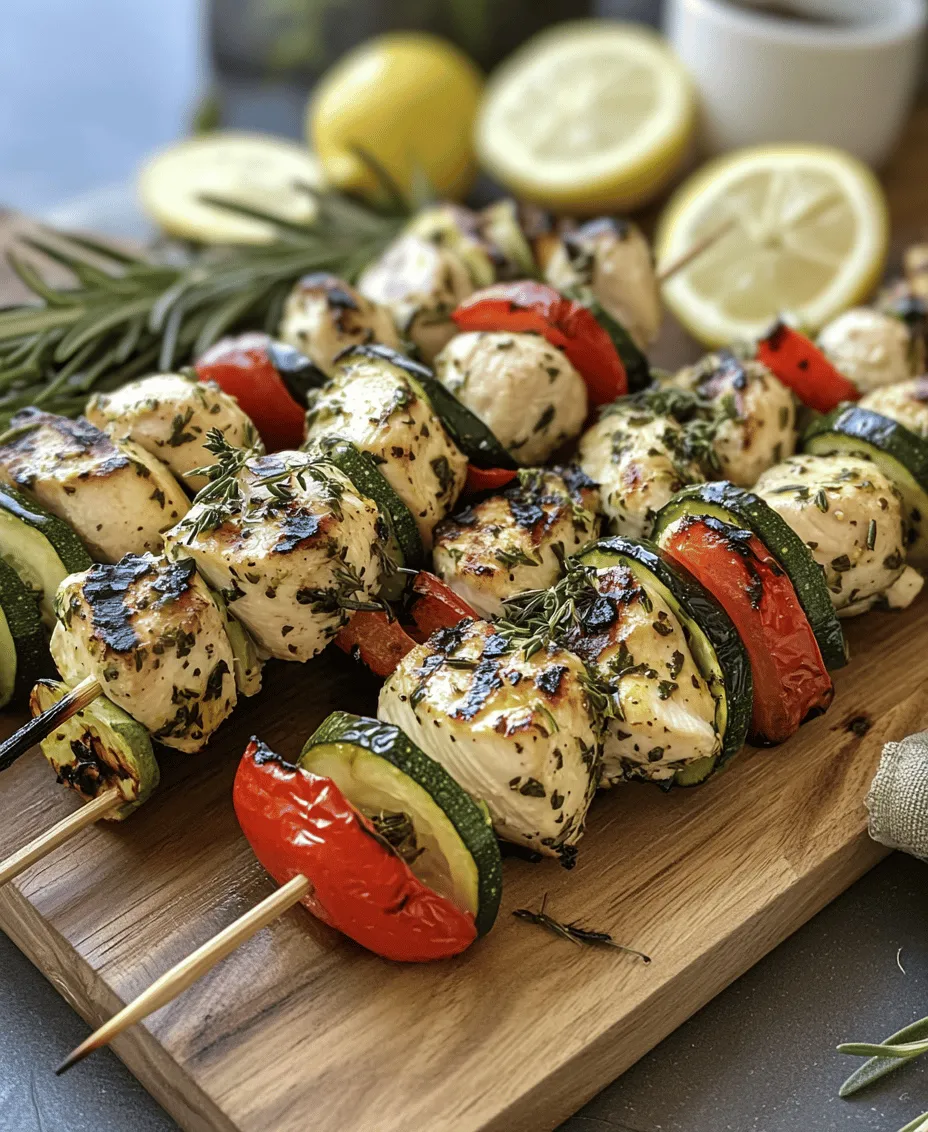
– Grilled Vegetables: Bell peppers, zucchini, and onions tossed with olive oil and seasoning make a colorful and healthy side.
– Couscous or Quinoa Salad: A light and fluffy grain salad with herbs, cherry tomatoes, and a lemon vinaigrette pairs beautifully with the skewers.
– Tzatziki Sauce: This yogurt-based sauce made with cucumber, garlic, and dill adds a refreshing contrast to the savory chicken.
Creative Serving Ideas
Presentation can elevate your dining experience. Here are some creative serving ideas for your chicken skewers:
– Skewers on a Platter: Arrange the grilled skewers on a large platter garnished with fresh herbs and lemon wedges for a beautiful presentation.
– Make it a Wrap: Serve the skewers with warm pita bread and a variety of toppings like lettuce, tomatoes, and sauces, allowing guests to make their own wraps.
– Bento Box Style: For a fun twist, create a bento box with skewers, rice, and assorted veggies. This makes for a delightful lunch option.
With these tips, your Savory Herb Chicken Skewers will not only be delicious but also visually appealing, perfect for impressing your family and friends. Next up, we’ll dive into the details of our next dish, Creamy Tuscan Pasta, but first, enjoy the delightful experience of preparing these flavorful chicken skewers!
Tips for Achieving a Perfect Sear and Flavor Balance
To ensure your Savory Herb Chicken Skewers are both delicious and beautifully presented, achieving a perfect sear is crucial. Here are some essential tips that will help you master this technique:
1. Pat Dry the Chicken: Before marinating, ensure that your chicken pieces are patted dry with paper towels. This will help achieve a nice sear instead of steaming the meat.
2. Preheat the Grill: Whether you are using a gas grill, charcoal grill, or grill pan, make sure it is preheated to medium-high heat. A hot grill encourages a good sear and prevents sticking.
3. Use Oil Wisely: Lightly coat the grill grates with oil or use a non-stick spray before placing the skewers on the grill. Additionally, a little oil in your marinade can help enhance the flavor while also aiding in achieving that coveted sear.
4. Avoid Overcrowding: When placing the chicken skewers on the grill, ensure they aren’t too close together. Overcrowding can lead to uneven cooking and steaming instead of grilling.
5. Sear and Turn: Allow the chicken to sear for about 4-5 minutes on one side without moving it. This will create a nice crust. Afterward, use tongs to turn them gently to the other side and repeat. Aim for an internal temperature of 165°F for fully cooked chicken.
6. Resting Time: Once removed from the grill, let the skewers rest for about 5 minutes before serving. This resting time allows the juices to redistribute within the meat, ensuring a juicy bite.
Assembling the Tacos
Creating the perfect taco with your Savory Herb Chicken Skewers is simple. Follow these steps for a delicious assembly:
1. Warm the Tortillas: Start by warming your tortillas on a skillet or directly on the grill for a few seconds on each side. Warm tortillas are more pliable and enhance the overall flavor of your tacos.
2. Layer the Chicken: Once the skewers have rested, carefully remove the chicken pieces from the skewers. Place a generous portion of the grilled chicken at the center of each tortilla.
3. Add Fresh Vegetables: Top the chicken with a handful of fresh ingredients for crunch and flavor. Diced tomatoes, shredded lettuce, and sliced avocado are excellent choices.
4. Drizzle with Sauce: A drizzle of sauce can elevate your taco. Consider using a zesty lime crema, spicy chipotle mayo, or even a homemade salsa verde for an additional burst of flavor.
5. Finish with Herbs: Finally, sprinkle fresh cilantro or chopped green onions on top of your taco for added freshness and color.
Suggestions for Additional Toppings and Sauces to Customize Your Tacos
To truly make your tacos unique, consider adding some of the following toppings:
– Pickled Red Onions: These add a lovely tang and color to your taco.
– Feta or Cotija Cheese: Crumbled cheese enhances the flavor and gives a creamy texture.
– Jalapeños: For those who like some heat, sliced jalapeños or pickled jalapeños can be a great addition.
– Corn Salsa: A refreshing corn salsa with lime juice, diced bell peppers, and onions adds sweetness and crunch.
– Guacamole: A dollop of guacamole can provide creaminess and richness to counterbalance the flavors of the chicken.
Serving with Style
Presentation can elevate your taco night from simple to spectacular. Here are some ideas for presenting your tacos beautifully:
1. Use a Platter: Arrange the assembled tacos on a large platter with a colorful garnish of fresh herbs and lime wedges around them for an inviting look.
2. Individual Plates: Serve each taco on its own plate accompanied by a side of fresh salsa and chips for a restaurant-style feel.
3. Taco Bar Setup: If you’re hosting a gathering, set up a taco bar where guests can assemble their tacos. Provide a variety of toppings and sauces to encourage creativity.
Pairing Suggestions for Drinks that Complement the Dish
A well-paired drink can enhance the flavors of your Savory Herb Chicken Skewers tacos. Here are some beverage ideas:
– Classic Margarita: The citrusy and slightly salty notes of a margarita complement the flavors of the chicken and fresh toppings beautifully.
– Horchata: This sweet, creamy rice drink can be a refreshing contrast to the savory tacos.
– Craft Beer: A light lager or pale ale works well with grilled chicken, balancing the spices without overpowering them.
– Iced Tea: A refreshing iced tea, sweetened with a hint of lemon, can provide a cooling counterpoint to the spiciness of your tacos.
Quinoa & Black Bean Stuffed Bell Peppers: A Wholesome Option
If you’re looking for a nutritious side dish to accompany your tacos, consider making Quinoa & Black Bean Stuffed Bell Peppers. This dish is not only filling but also packed with flavor and nutrients.
Exploring the Ingredients
1. Nutritional Benefits of Quinoa and Black Beans: Quinoa is a complete protein, providing all nine essential amino acids, making it an excellent choice for vegetarians and health-conscious eaters. Black beans add fiber and additional protein, supporting digestive health and sustained energy levels.
2. Importance of Fresh Vegetables and Spices: Using fresh bell peppers, onions, and spices enhances the flavor and nutritional profile of the dish. The vibrant colors of the peppers not only make the dish visually appealing but also indicate a variety of vitamins and minerals.
Preparation of Bell Peppers
1. Techniques for Preparing and Stuffing Bell Peppers: Start by cutting the tops off the bell peppers and removing the seeds. Blanch the peppers in boiling water for about 5 minutes to soften them slightly. This will ensure they cook evenly in the oven.
2. Tips for Selecting the Right Peppers for Stuffing: Choose firm, vibrant bell peppers that are free from blemishes. Red, yellow, and orange varieties are sweeter and more flavorful, whereas green peppers have a more bitter taste.
Baking Process
1. Guidance on Baking Temperatures and Times for Optimal Texture: Preheat your oven to 375°F. Place the stuffed peppers in a baking dish with a bit of water at the bottom to create steam. Cover with foil and bake for 25-30 minutes, removing the foil for the last 10 minutes to allow the tops to brown slightly.
2. How to Ensure the Filling is Well-Cooked and Flavorful: Cook the quinoa and black beans before mixing them with diced tomatoes, onions, and spices. Make sure the mixture is well-seasoned, as the filling should be flavorful on its own.
Garnishing and Serving
1. Ideas for Garnishing with Fresh Cilantro: Once baked, sprinkle fresh cilantro on top of the stuffed peppers for a vibrant finish that adds flavor and freshness.
2. Serving Suggestions for a Well-Rounded Meal: Serve the stuffed peppers alongside your Savory Herb Chicken Skewers tacos for a hearty meal. A side salad with a light vinaigrette can also complement the flavors beautifully.
Lemon Garlic Butter Cod: A Simple Yet Elegant Dish
Consider preparing Lemon Garlic Butter Cod for a light, yet satisfying meal. This dish is easy to make and pairs wonderfully with a range of sides.
Understanding the Cod
1. Benefits of Cooking with Cod and Its Flavor Profile: Cod is a mild, flaky white fish that absorbs flavors well, making it versatile for many recipes. It is low in calories and high in protein, making it an excellent choice for a healthy meal.
2. Tips for Selecting the Freshest Fish: When purchasing cod, look for fillets that are moist, translucent, and have a mild sea smell. Fresh fish should not have a strong fishy odor.
Preparing the Lemon Garlic Butter Sauce
1. Importance of Balancing Flavors in the Sauce: A well-balanced sauce enhances the natural flavors of the cod. The acidity of the lemon cuts through the richness of the butter, while garlic adds depth.
2. Techniques for Ensuring the Sauce Complements the Cod Perfectly: Melt the butter over low heat, adding minced garlic until fragrant. Stir in lemon juice and zest, and season with salt and pepper to taste.
Baking the Cod
1. Step-by-Step Instructions for Baking Cod to Achieve Flakiness: Preheat your oven to 400°F. Place the cod fillets in a baking dish, pour the lemon garlic butter sauce over them, and bake for 12-15 minutes until the fish flakes easily with a fork.
2. Tips for Checking Doneness and Maintaining Moisture: Use a fork to gently flake the cod at the thickest part. If it flakes easily, it is done. Avoid overcooking to prevent dryness.
Presentation and Serving
1. Ideas for Plating the Dish with Lemon Wedges: Serve the cod on a plate with a garnish of lemon wedges and a sprinkle of fresh parsley for color and brightness.
2. Pairing Suggestions for Sides that Enhance the Meal: Accompany the cod with a side of roasted vegetables or a light salad for a well-balanced meal.
Conclusion
This two-week meal plan showcases a variety of recipes that not only cater to different tastes but also ensure nutritious and satisfying meals. From the vibrant flavors of Savory Herb Chicken Skewers to the comforting Quinoa & Black Bean Stuffed Bell Peppers and the elegant Lemon Garlic Butter Cod, each dish has been crafted to provide an enjoyable cooking experience while nourishing the body. Embrace the opportunity to explore these recipes, and elevate your meal times with creativity and flavor.